Beautify your walls with this easy DIY project
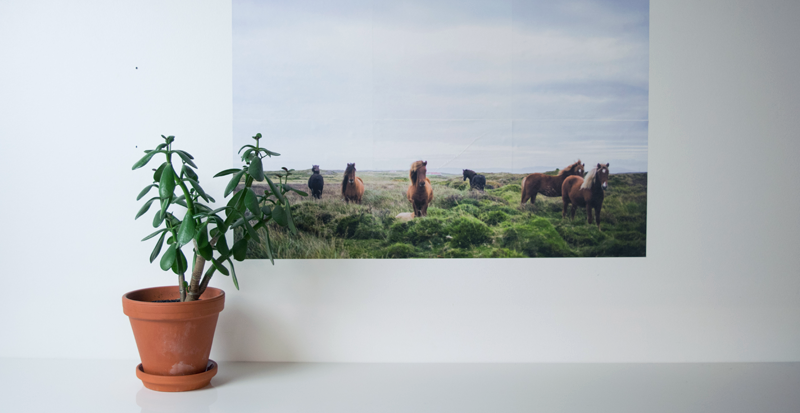
Follow the simple steps below to turn your favorite landscape photo into DIY wall art. With the help of our free downloadable template, you’ll be able to create this project in 10 minutes!
1. Click to download the DIY wall art Photoshop template below:
Impressed App DIY Wall Art Template for Photoshop
2. Select your desired landscape image for this project.
We recommend one that is 30.25 x 20.25 inches with a resolution of 150 dpi (the higher the better, always)
3. In Photoshop, import your image into the downloaded template, making sure it’s below the ‘Guides’ folder so you can see the guides layered on top.
In the next few steps, you’ll break up your image into 6 pieces using the template and guides provided:
4. Starting with square 1 in your template, use the crop tool to crop to the size of your square (making sure you crop to the outside of the darker grey areas- this will account for bleed), like the preview below.
5. Once cropped, hide the ‘Guides’ folder by clicking the eye in the layers panel.
6. Save your square as a .jpg.
7. Once your square is saved, click: Edit > Step Backward to get back to your full template.
8. Repeat for squares 2-6.
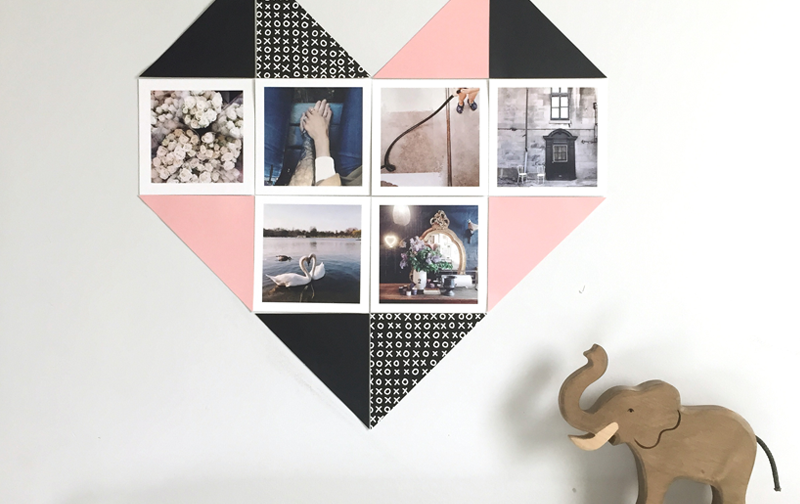
9. In Impressed App, select the 10×10 decal set, pop your 6 squares in and you’re good to go!
10. Receive printed decals and assemble on your wall using tape/pencil guides as a line to keep them straight.
Download Impressed App for iPhone.
Download Impressed App for Android.


